
SFTP is a “Secure File Transfer Protocol” used for transferring files securely over a secure shell. Generally, SFTP is used by web hosting customers to transfer files over the network. Microsoft Azure does not have a fully managed SFTP service yet. If you want to deploy an SFTP on Azure, you may need to deploy a secure FTP on Files.com then integrate it with Microsoft Azure blob storage. Microsoft Azure allows you to mount your container or sync your files to and from Azure blob storage.
Files.com is a cloud-based file sharing solution that allows you to mount and sync your files from several cloud providers including, Microsoft Azure, Google, Dropbox, Rackspace, Amazon S3, and more. It is best for secure storage and transfer of your files, huge ones. Files.com has inbounded files inboxes, as well as file requests – this allows you to organize and sort data systematically. Furthermore, rather than sending the data through suspicious pathways, Files.com enables the recipient to access a secure link with the needed information and retrieve the files. This tool proves to be highly beneficial for companies in electronic data transfer.
In this post, you will learn the following:
- Create a storage account on Microsoft Azure.
- Create a container on the Microsoft Azure portal.
- Set up remote server sync with Azure on Files.com
- Set up a remote server mount with Azure on Files.com
- Create a VM on Azure
- Download a Remote Desktop file to access the VM
- Install SFTP software from Cerberus FTP Server
Create a Storage Account on Microsoft Azure
Microsoft Azure storage account provides a unique namespace for your Azure Storage data accessible from anywhere in the world over HTTP or HTTPS.
First, sign in to the Microsoft Azure portal at https://portal.azure.com/. You should see the following screen:

In the left pane, click on Storage account. You should see the following screen:
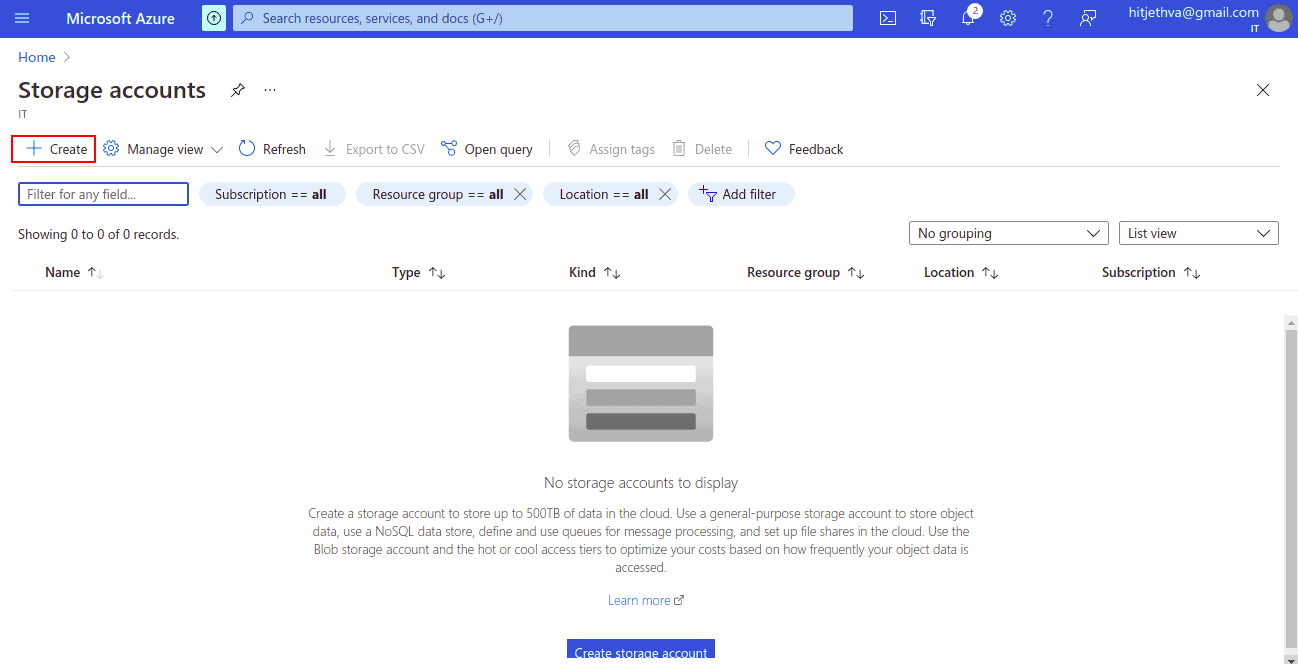
Click on the Create button. You should see the following screen:
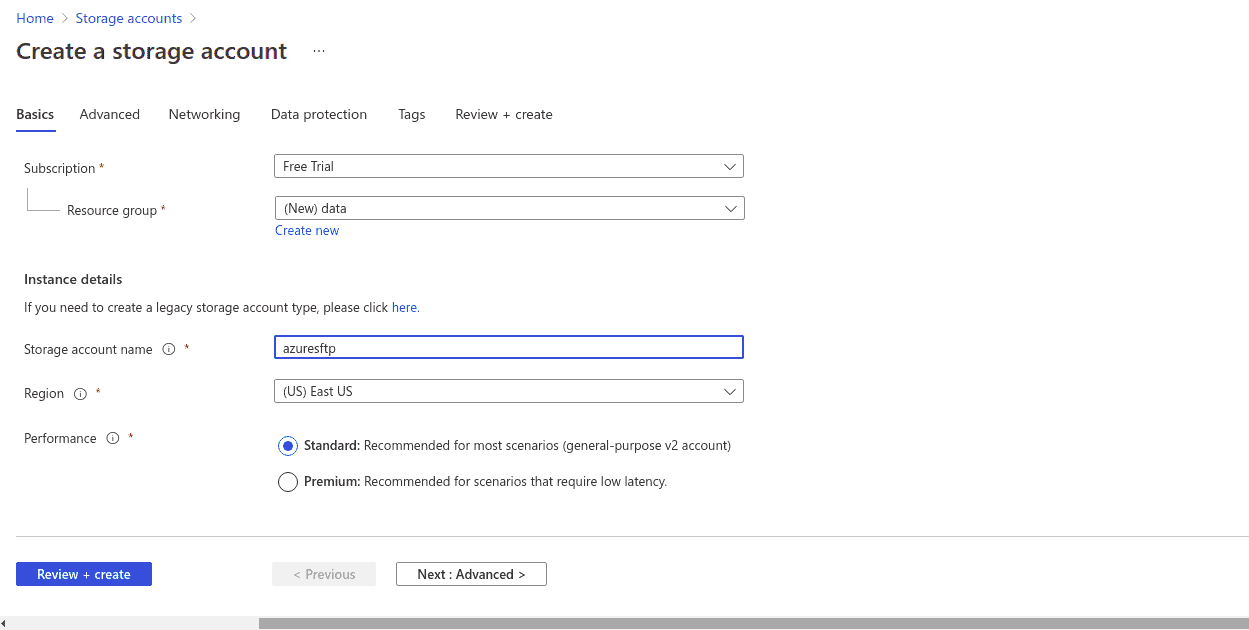
Now, provide your resource group name, storage account name then click on the Review + create button. You should see the following screen:
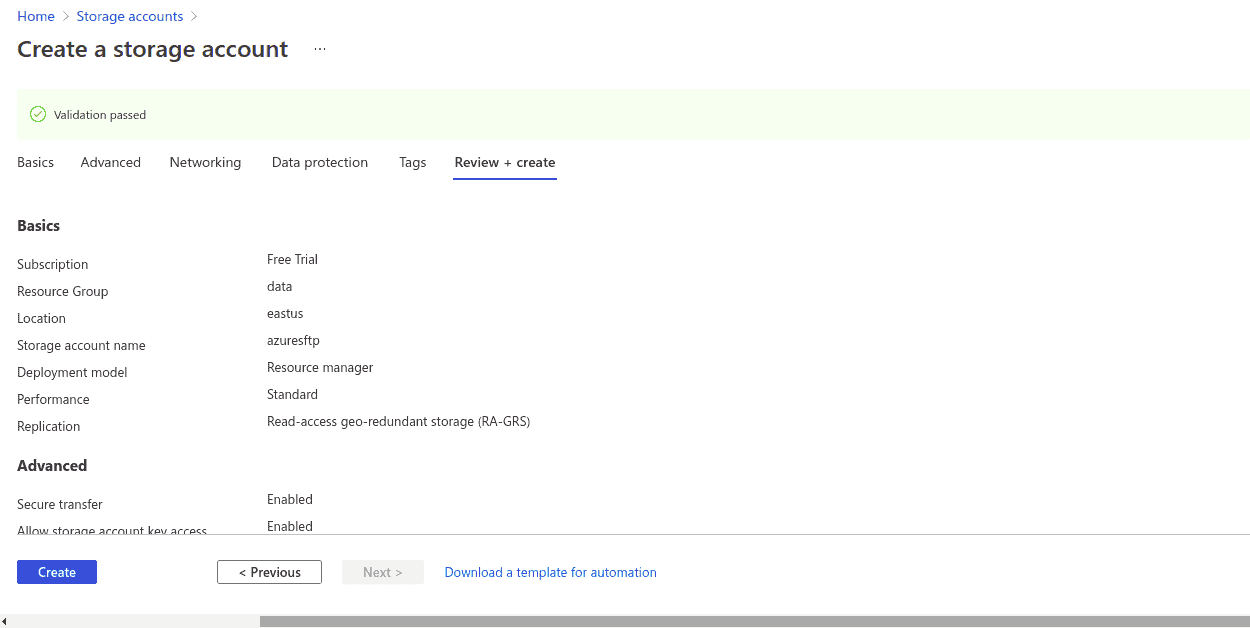
Next, review your account information and click on the Create button. You should see the following screen:
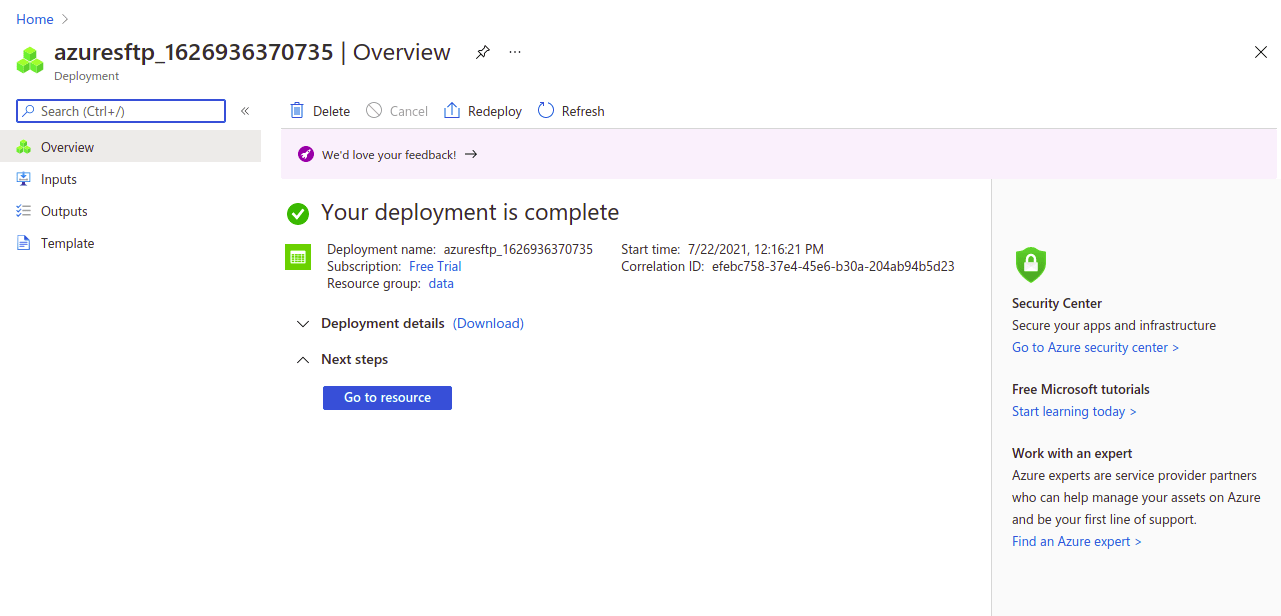
At this point, your Azure storage account is ready to use. You can now proceed to the next step.
Create a Container on Microsoft Azure Portal
Next, you will need to create a container on the Azure portal.
To create a container on the Azure portal, follow the below steps:
1. Log in to the Azure portal and navigate to your new storage account. You should see the following screen:
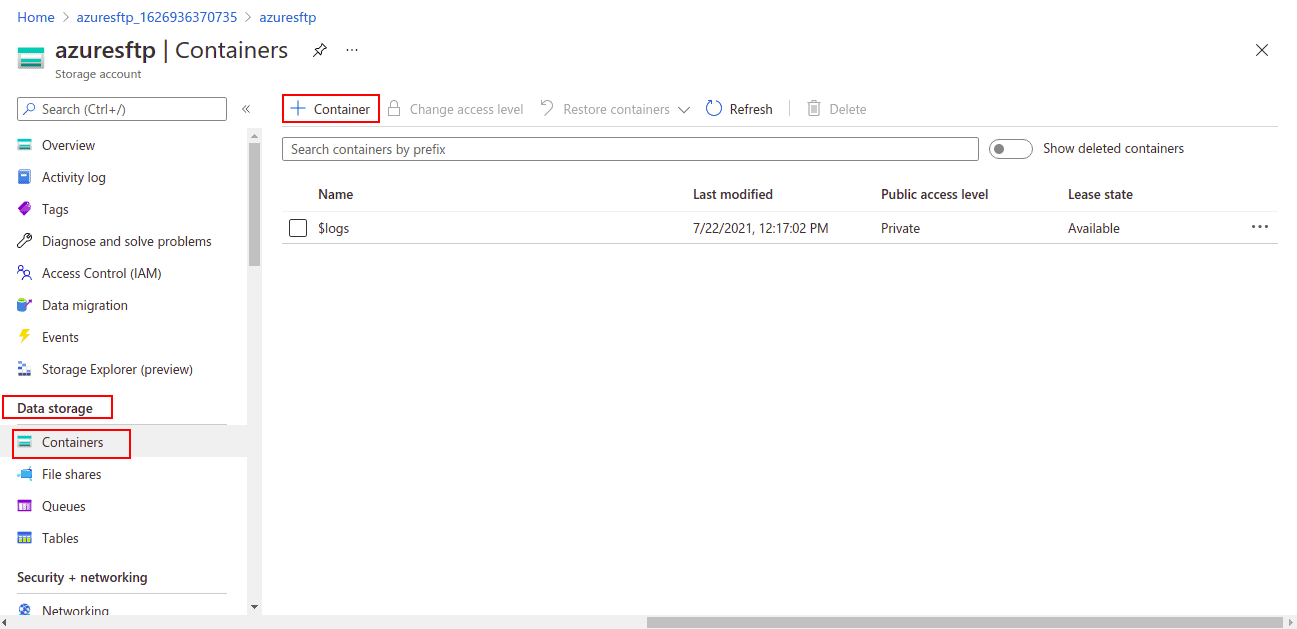
2. In the left pane, click on Data storage => Containers and click on the +Container button. You should see the following screen:
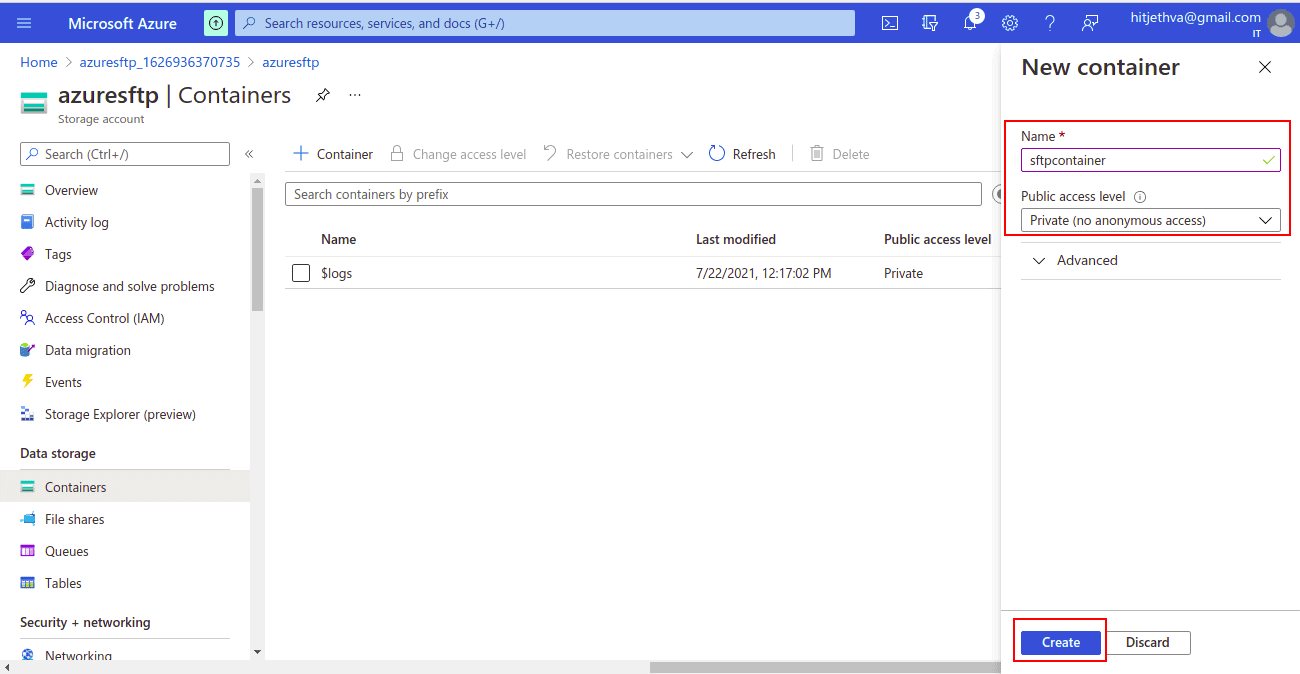
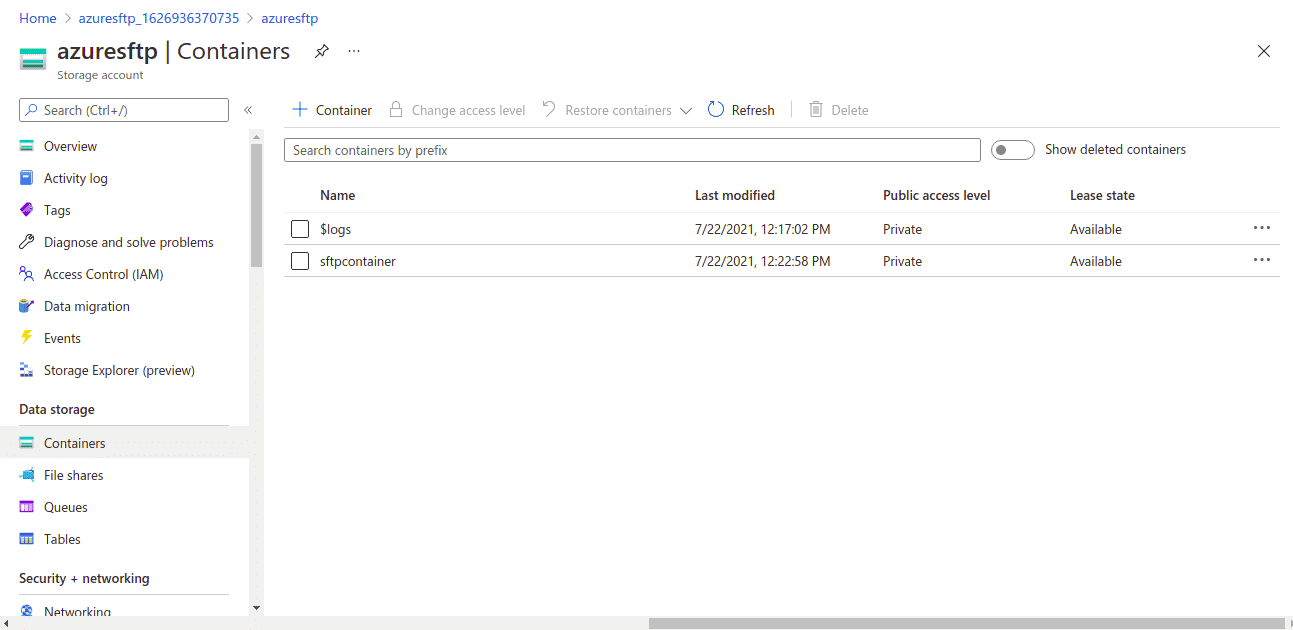
3. Provide your container name, define your access level and click on Create button. Once the container has been created, you should see the following screen:
Next, you will need to upload some files to your new container in the Azure portal.
4. Click on the container you created in the previous section. You should see the following screen:
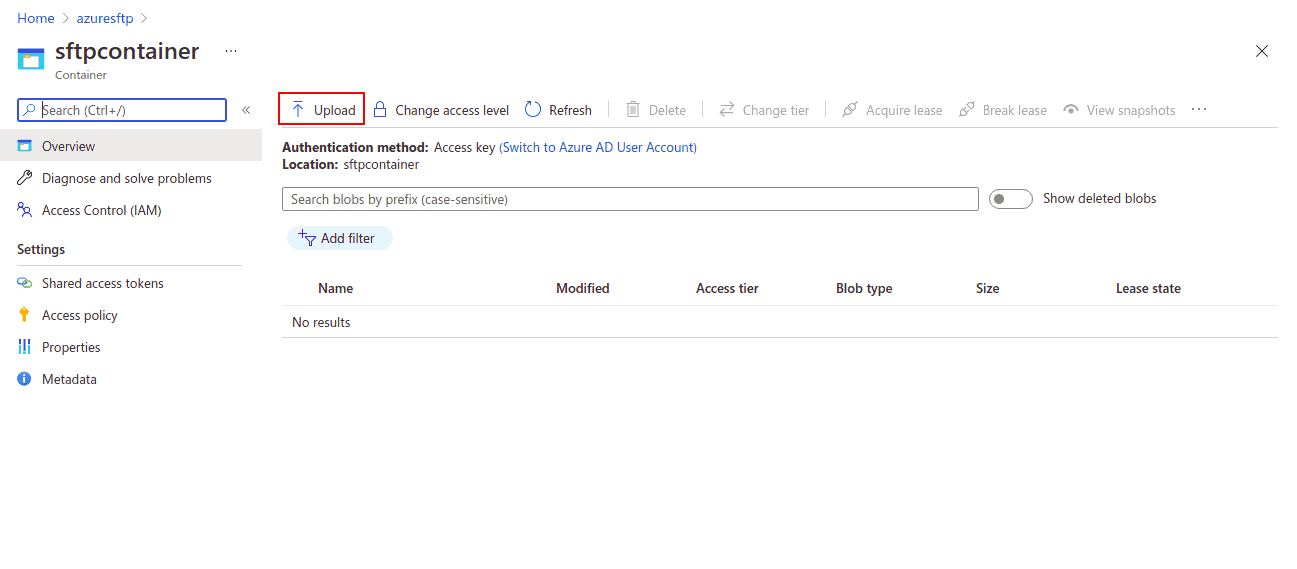
5. Click on the Upload button on the top bar. You should see the following screen:
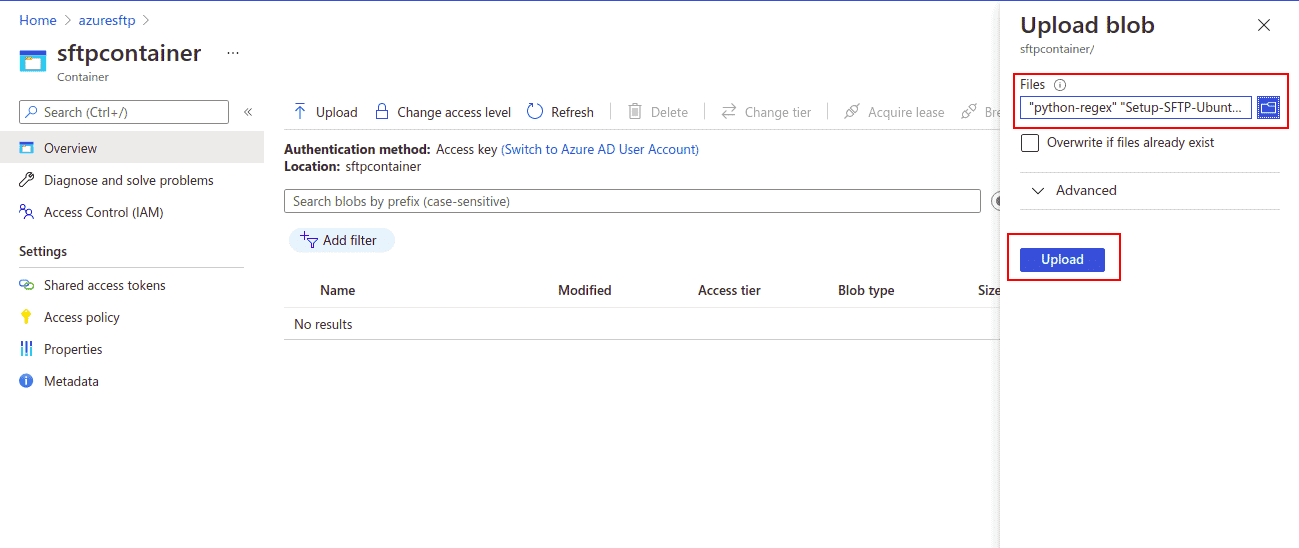
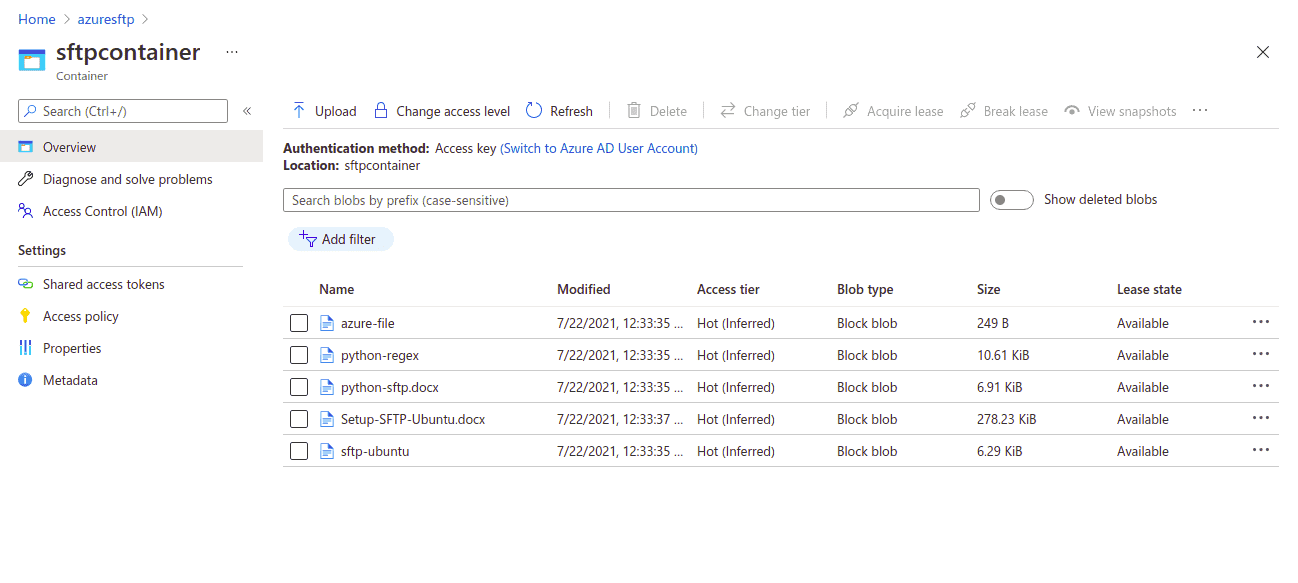
6. Select all files you want to upload from your local system and click on the Upload button. Once all files are uploaded, you should see the following screen:
At this point, we have an Azure blob storage account with the container. You can now proceed to the next step.
Set Up a Remote Server mount with Azure on Files.com
In this section, we will mount all files from the Azure blob storage to Files.com. You can sign up for a 7-day free trial to get you started.
Follow the below steps to set up a remote server mount with Azure on Files.com:
1. First, log in to Files.com. You should see the following screen:

2. Click on the Integration in the left pane. You should see a list of all services that are currently supported for mounting.
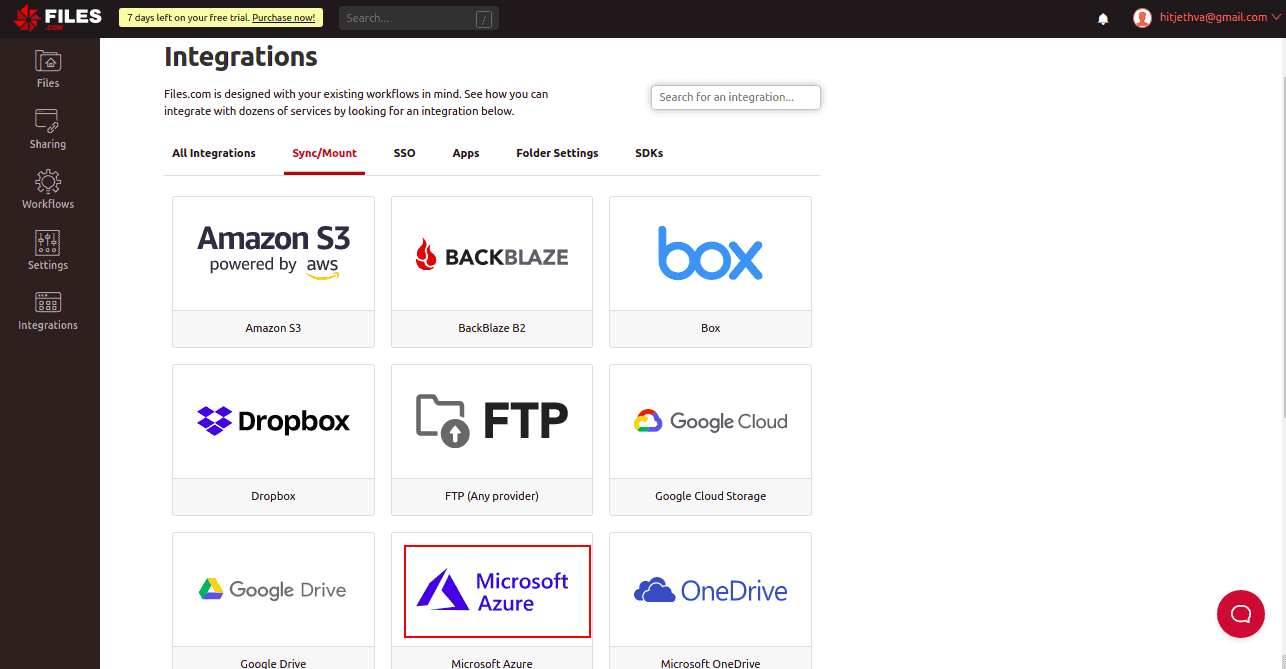
3. Click on Microsoft Azure. You should see the following screen:
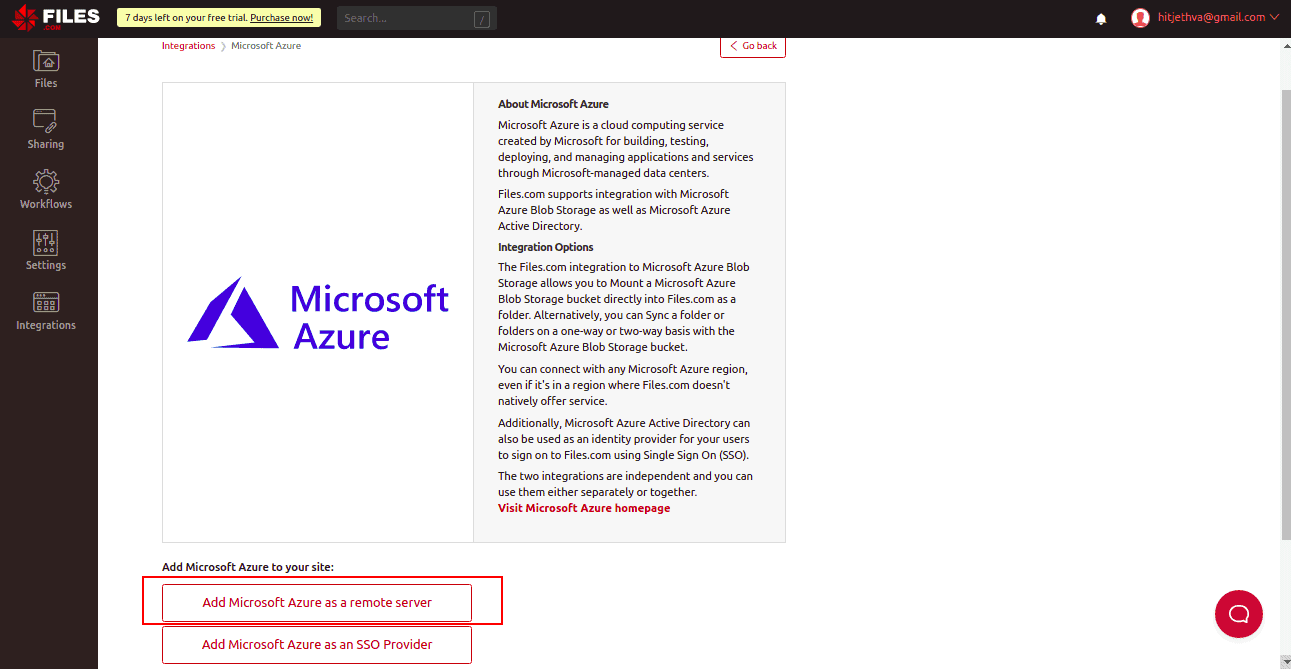
4. Click on the Add Microsoft Azure as a remote server. You should see the following screen:

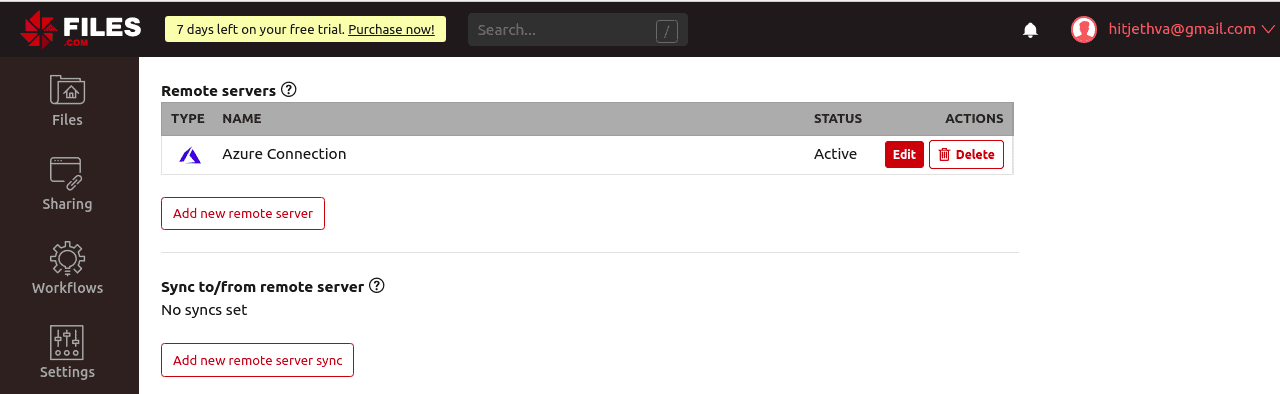
5. Provide any name for the connection, your Azure storage account name, Azure container name, Azure access key, and click on the Save button. Once you are connected to Microsoft Azure you should see the following screen:
Next, you will need to create a folder on Files.com and mount Azure blob storage on that folder.
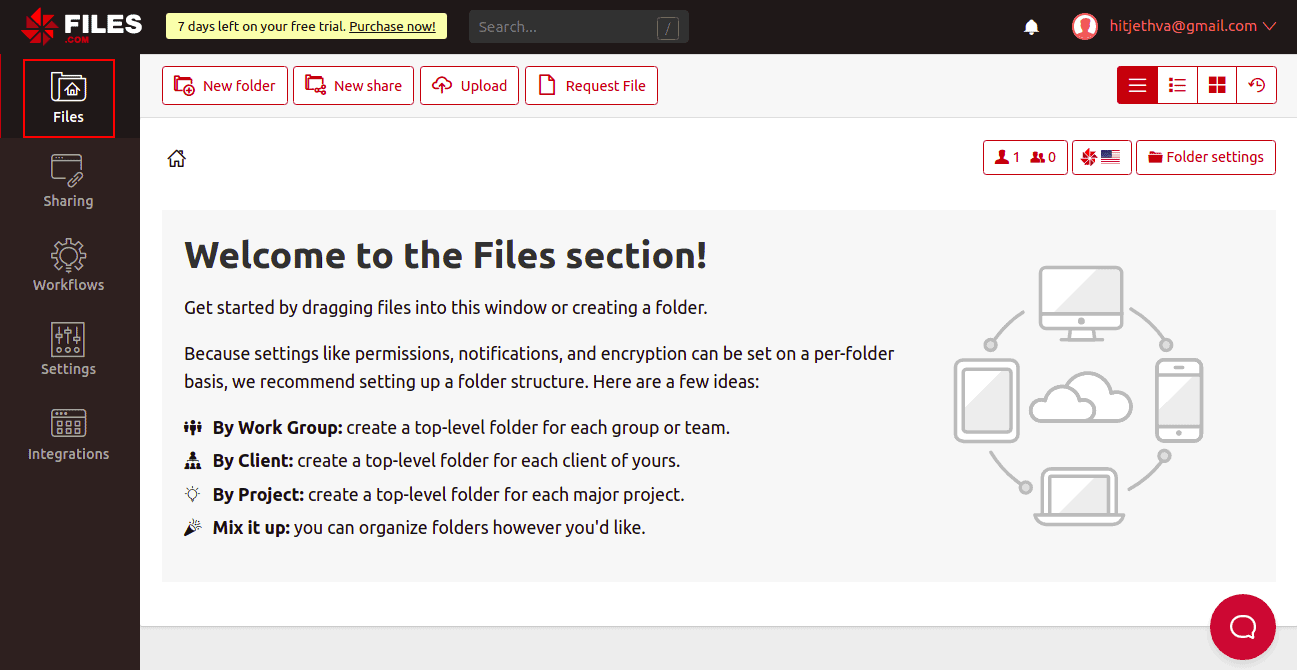
6. Click on the Files on the Files.com dashboard. You should see the following screen:
7. Click on New Folder. You should see the following screen:
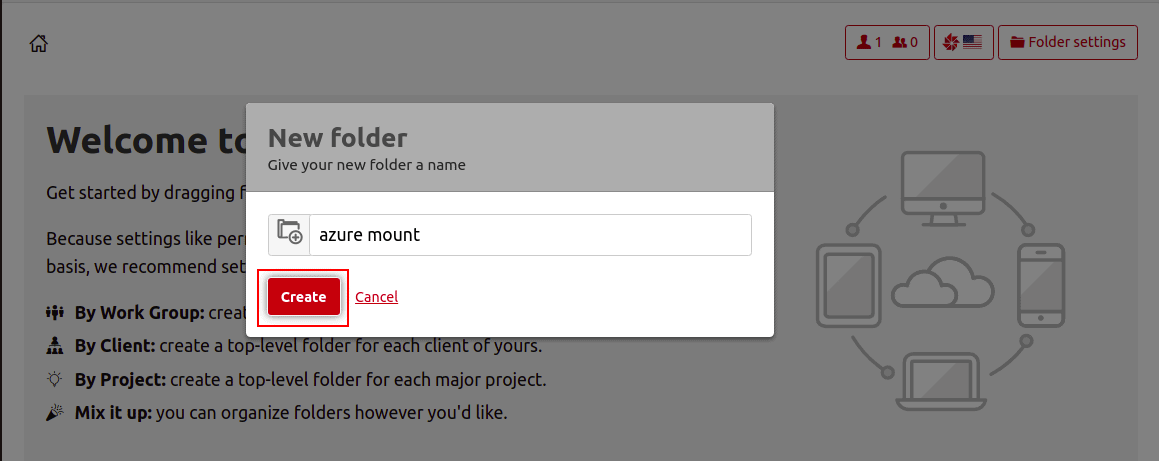
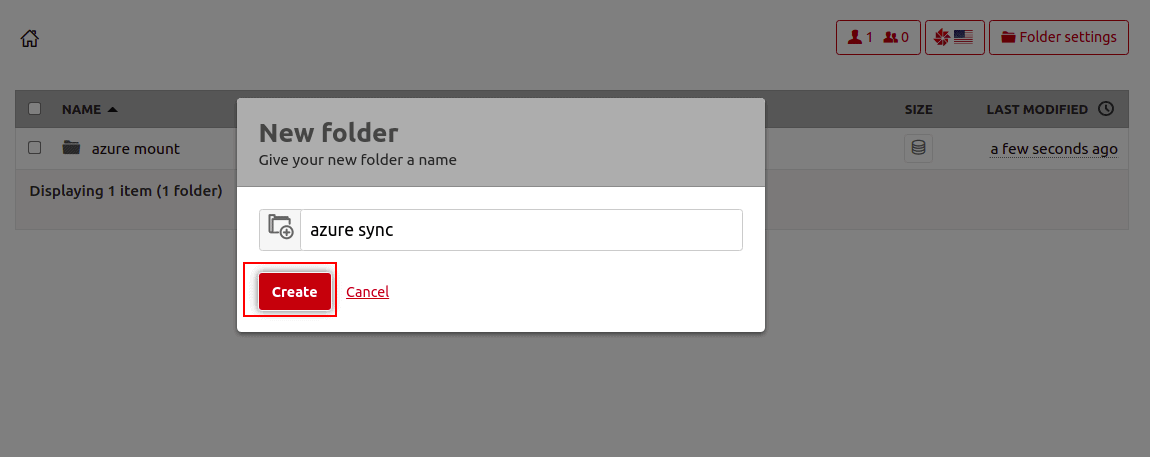
8. Provide your folder name (one for mount and one for sync) and click on the Create button. You should see the following screen:

9. Navigate the azure mount folder and click on the Folder settings. You should see the following screen:

10. Click on Remote server mount. You should see the following screen:

11. Click on Add new remote server mount. You should see the following screen:

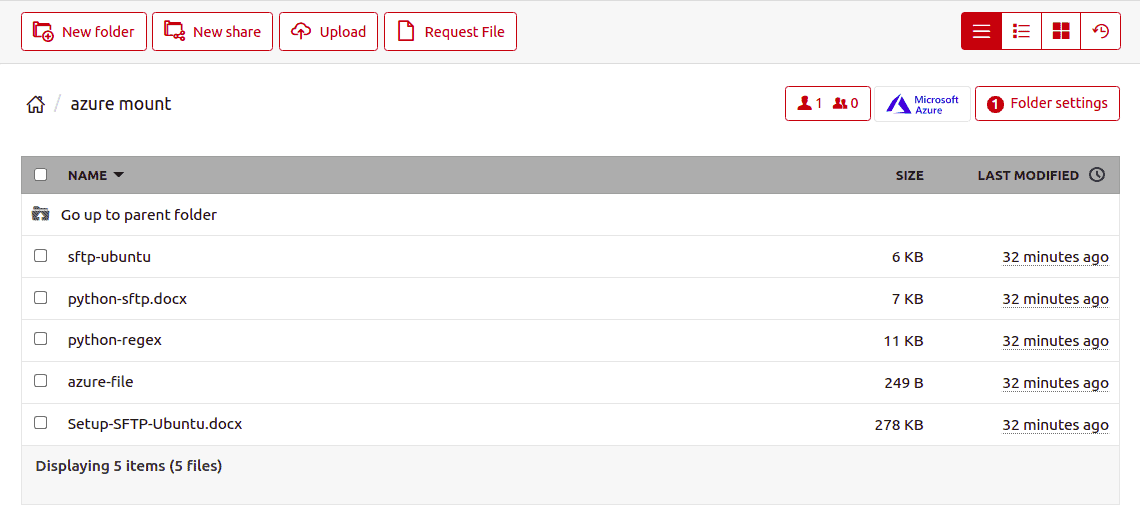
12. Select your Azure blob storage account and provide your root directory path (/) then click on the Save button. You should see that all files from the Azure blob storage are now mounted on Files.com.
Set up a Remote Server Sync with Azure on Files.com
Remote server sync allows you to sync files in three different modes.
- Push: Move all files from Files.com to the Azure blob storage.
- Pull: Move all files from the Azure blob storage to Files.com.
- Two-way Sync: Synchronized all files on both ends.
Keep in mind that the remote server sync option is not real-time. Instead, the remote sync happens at polling intervals based on your plan.
In this section, we will show you how to set up remote server sync with Azure.
Follow the below steps to set up remote server sync with Azure.
1. Click on the Files in the File.com dashboard. You should see the following screen:
2. Navigate the azure sync folder and click on the Folder settings. You should see the following screen:
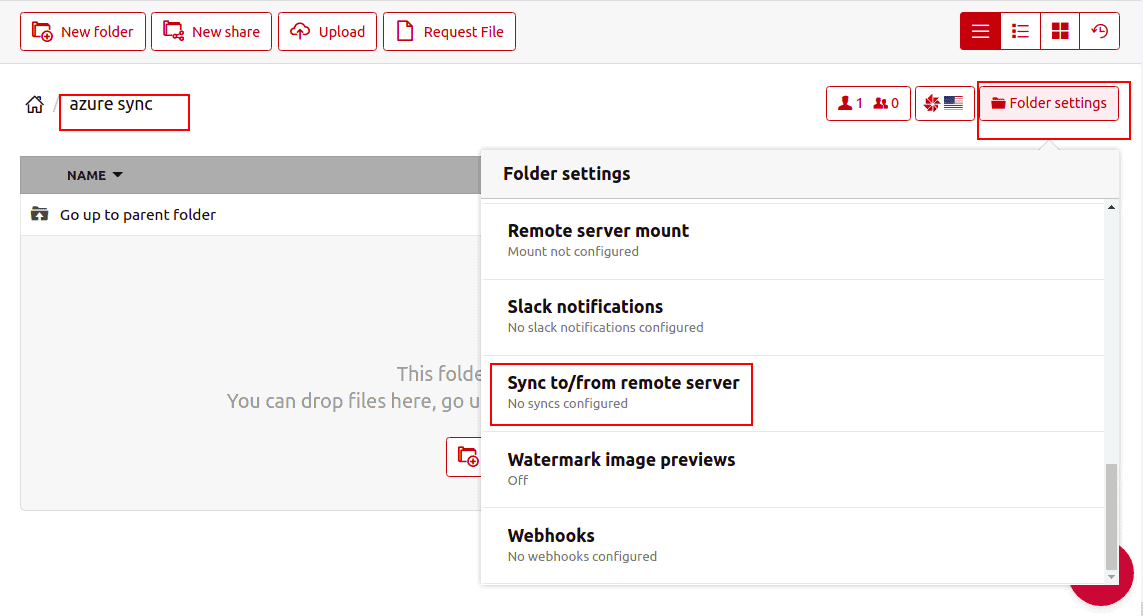
3. Click on Sync to and from a remote server. You should see the following screen:
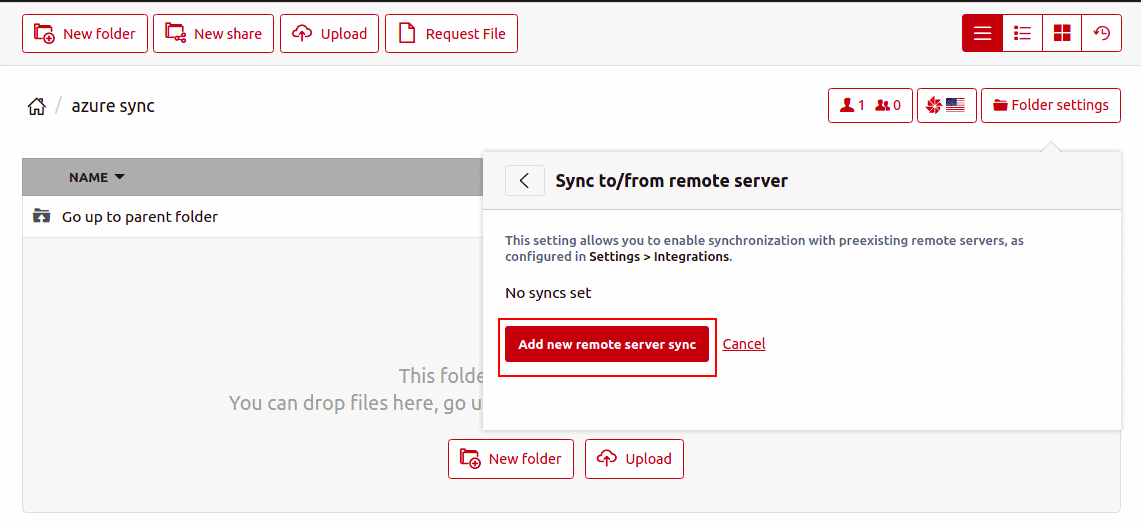
4. Click on Add new remote server sync. You should see the following screen:
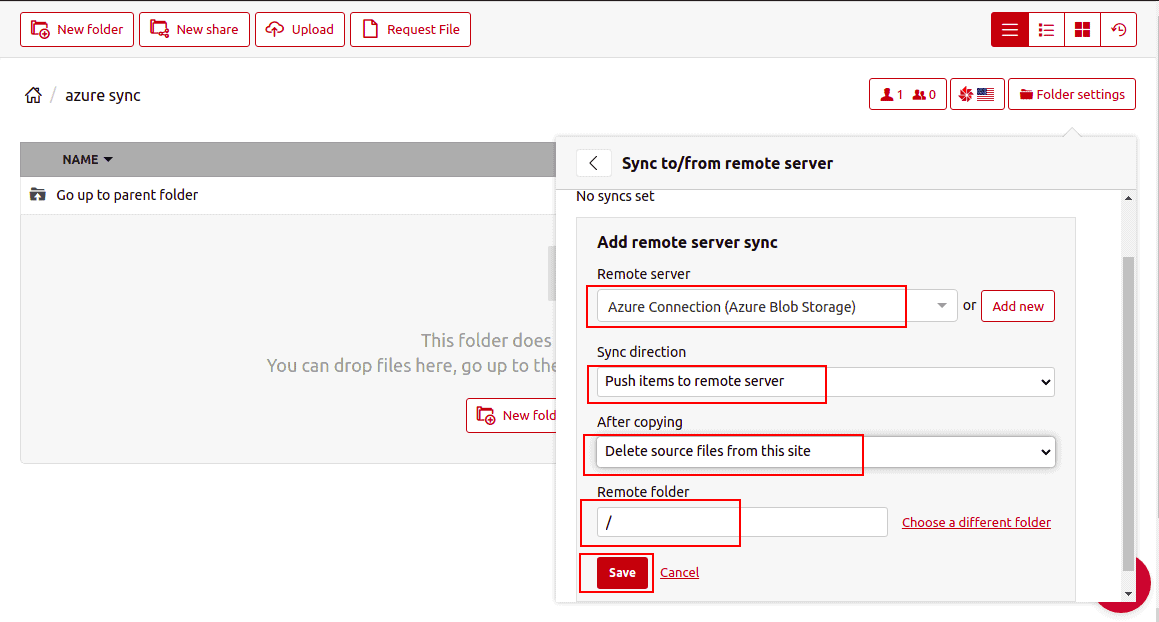
5. Select your Azure blob storage, define sync direction “Push items to a remote server”, define “Delete source files from this site”, Provide remote root directory path then click on the Save button.
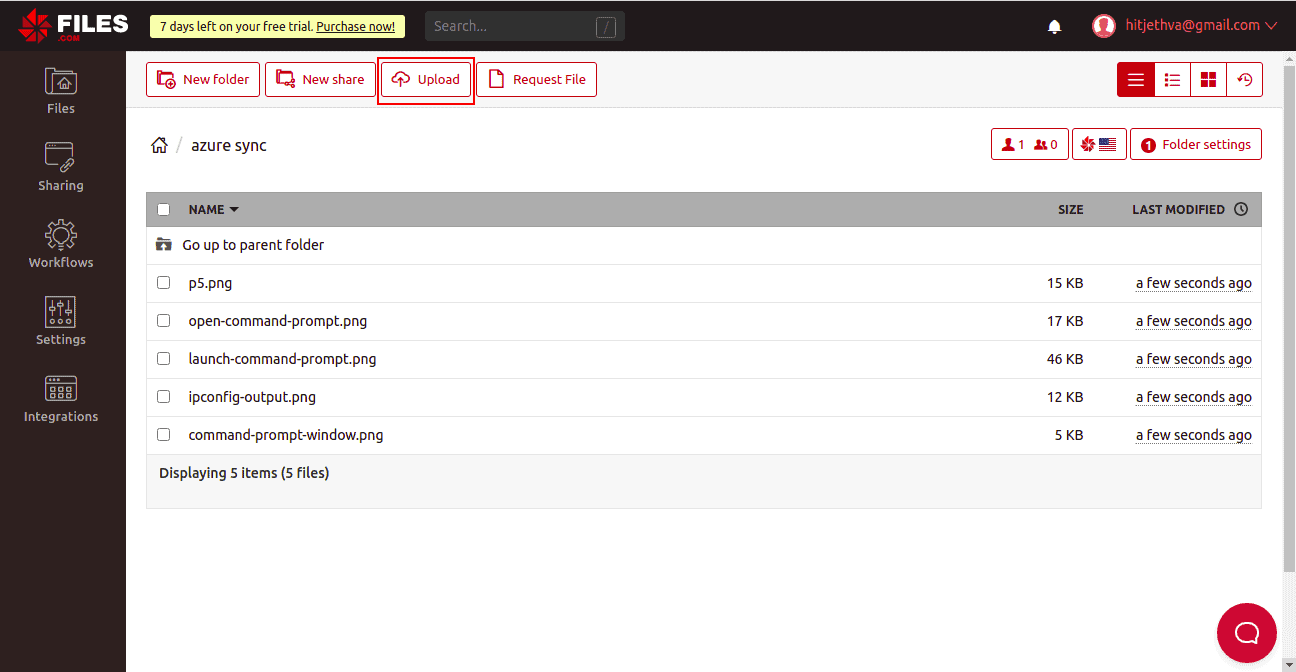
6. Now, upload some files on the Files.com inside the azure sync folder as shown below:
7. Wait for some time then go to the Azure blob storage account. You should see that all files from Files.com are synchronized to the Azure blob storage account.
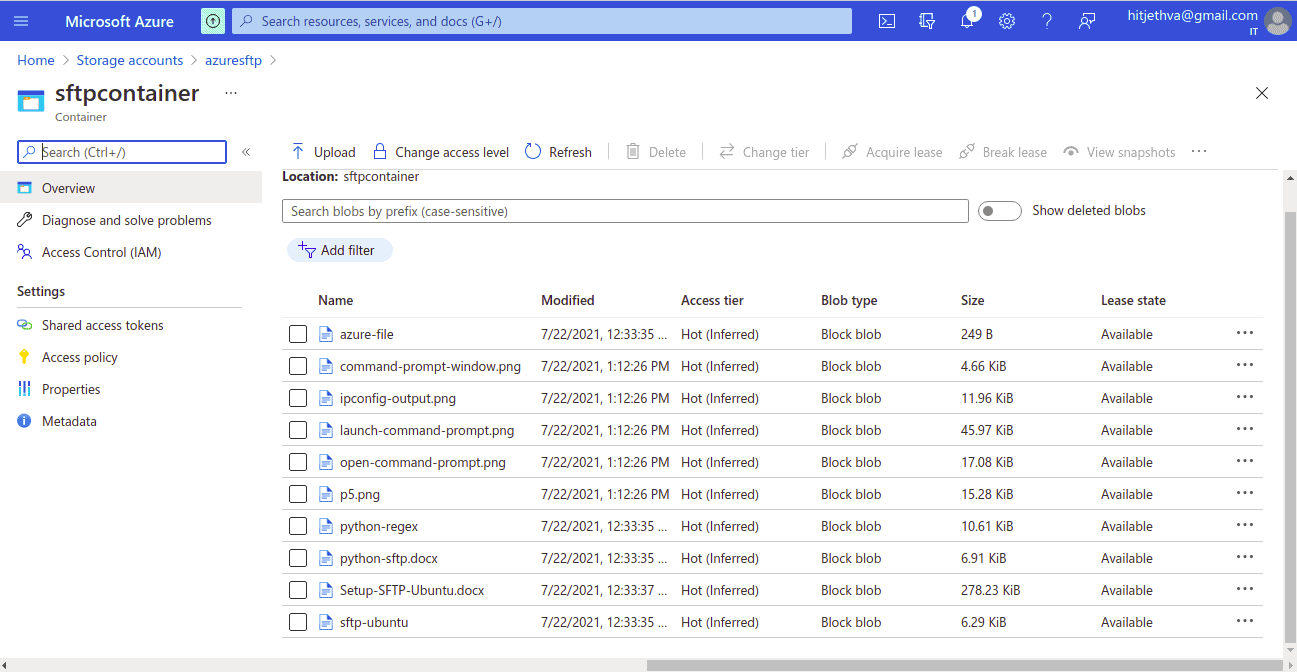
You should also notice that all files are deleted from Files.com because we set up sync in one direction. So all files have been moving to the Azure blob storage.
Create a VM on Azure
You can install any software on an Azure VM as long as you choose the appropriate operating system. Once the software is installed you can run it just as you would a software package installed on one of your own servers. Essentially, an Azure VM is your own server, but physically located somewhere else.
In order to install the Cerberus FTP Server on Azure, you need to set it up with a Windows Server operating system. Follow these steps:
- Open the Azure portal at https://portal.azure.com/ and sign in.
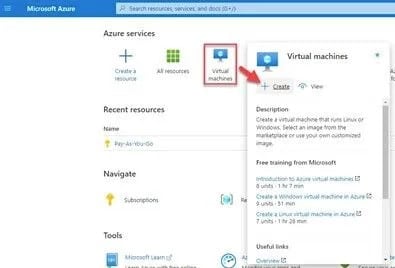
- In the home screen, look for the Azure services section. Select Virtual machines button and click on Create in the detail panel that appears.
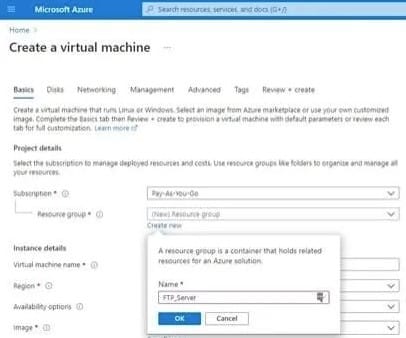
- The Create a virtual machine screen opens up. Run through the Basics tab. In the Resource group field, enter Cerberus FTP Server. Use the same value in the Virtual Machine Name field.
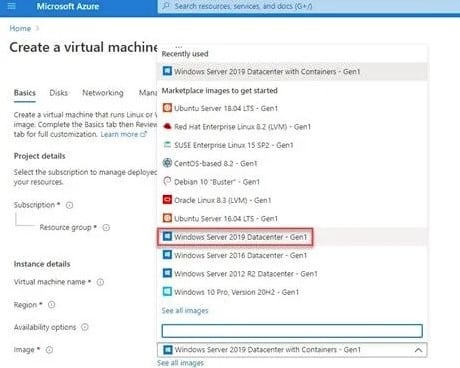
- In the Image field, select the most recent Windows Server option. This is because the Cerberus FTP Server software runs on Windows Server.
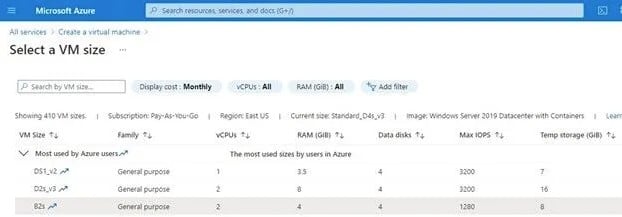
- Click on Size and give a vCPU value of at least 2 and put at least 8 for RAM (GiB).
- Scroll on to the Administrator account section, set up a username and password.
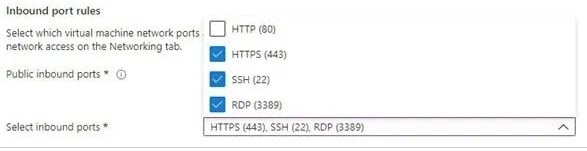
- At the Inbound port rules section, select HTTP, HTTPS, SSH, and RDP – the HTTP requirement enables connections to the Web-based client.
- Click on Next. This takes you to the Disks tab.
- The OS disk type field is a picklist. Select Premium SSD if you will be moving a lot files, otherwise, choose Standard SSD.
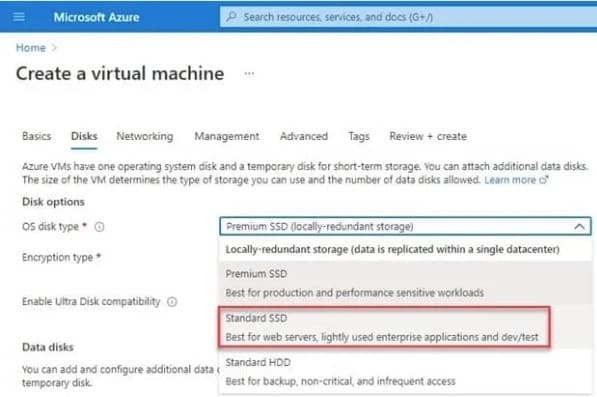
- The Encryption type default value lets the platform manage keys – leave that as it is.
- Click through the Networking, Management, Advanced, and Tags tabs – you don’t need to change values in those sections.
- The last tab is Review + create. Make sure that the screen displays the Validation passed message.
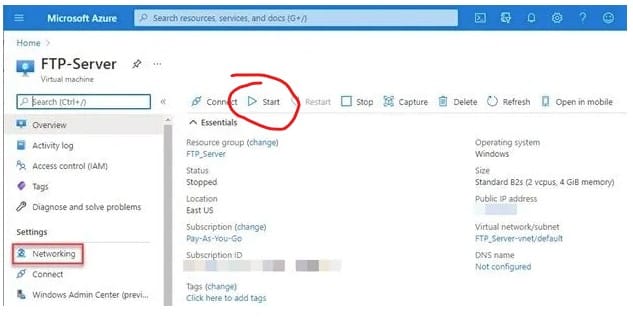
Review the settings of your VM by going back to the Azure services screen. Click on Virtual machines to get a list of the VMs that you have created. You should see the Cerberus FTP Server VM that you just created. Click on it to see its controls and settings. You can start up the VM from this screen.
Download a Remote Desktop file to access the VM
Get access to your VM through a remote desktop (RDP) session. Set up that utility with these steps.
- Sign in to your Azure account, look for Azure services and click on Virtual machines.
- Look in the list of the VMs that you have set up. Click on Cerberus FTP Server.
- In the VM’s details screen, click on Start.
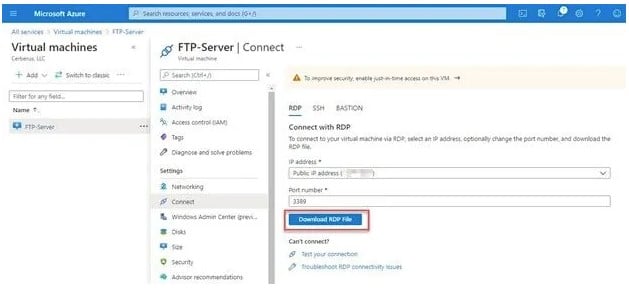
- Click on Connect.
- Click on RDP, which is shown immediately below the Connect button.
- In the RDP tab, click on the Download RDP File button.
- Let the download finish and then click on Open.
- A Remote Desktop Connection warning popup will appear. Click in the Don’t ask me again for connections to this computer checkbox and press the Connect button.

- A login screen appears. Enter your credentials and press the OK button.
- A certificate acceptance prompt will appear. Check the Don’t ask me again for connections to this computer box and click on the Yes button.
The Azure VM will open ready to have the Cerberus FTP Server software installed on it.
Install SFTP software from Cerberus FTP Server
You can continue on from the previous section’s instructions to set up the Cerberus FTP Server software. If you are starting up again, get your VM running and access it in the Remote Desktop application.
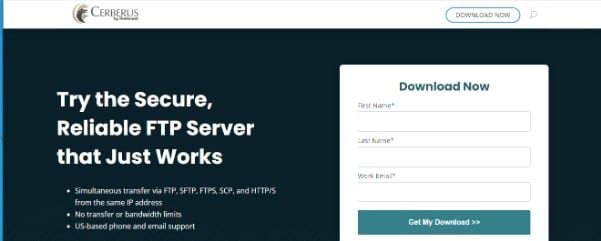
- Open a Web browser and go to the Cerberus FTP Server site to get the offer of Cerberus FTP Server for free for 25 days.
- Fill in the form and click on Get My Download.
- Right-click on the downloaded CerberusInstall64.exe to get the popup context menu. Click on Run as administrator.
- In the Unidentified program wants to access your computer popup, click on the Yes button. This launches the Cerberus FTP Server Installation Wizard.
- In the Welcome to the Cerberus FTP Server Setup screen, click Next.
- The next screen is for service credentials configuration.
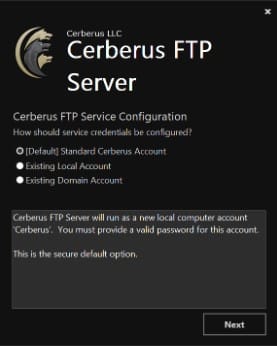
The choices are:- Standard Cerberus Account
Creates a new, unprivileged account called Cerberus on the local computer for FTP system administration. You will be prompted to create a password in the next screen. This is the default. - Existing Local Account
Use an existing account on the local computer for Cerberus services. You will need to enter the username and password in the next screen. - Existing Domain Account
Use a Windows Domain account. Enter the credentials in the next screen.
Click on Next
- Standard Cerberus Account
- The next screen changes according to the service credential configuration chosen in the previous screen. Enter the appropriate credentials. Click Validate. Once validation passes, click Next.
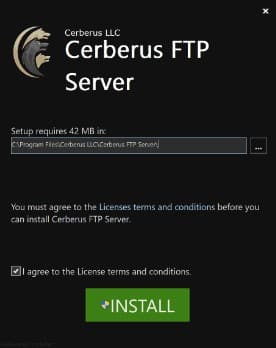
- In the next screen, select an installation folder or keep the default path. Select I agree to the License terms and conditions checkbox and click Install.
- Wait for the installation to run.
- Click Finish or press the Run button to end the installation and start up Cerberus FTP Server.
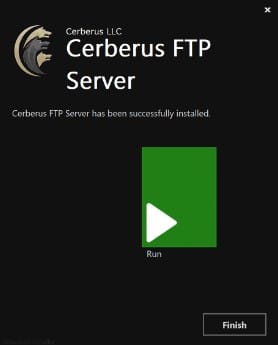
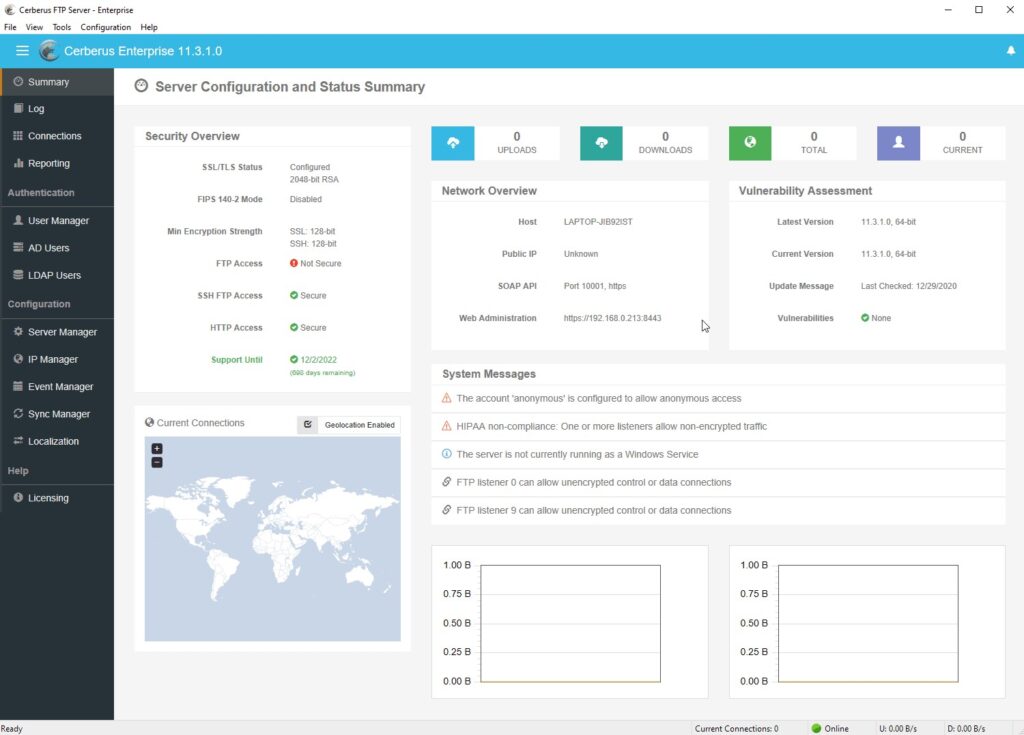
You can now run the Cerberus FTP Server and set up its SFTP service.
Conclusion
In the above guide, we explained how to set up an SFTP server on the Microsoft Azure portal and integrate it with Files.com. I would recommend creating an SFTP service on Files.com and sync your data to Microsoft Azure blob storage. You also have the option of creating a VM and installing third-party FTP software on Azure.


